If you’re a regular reader of marketing blogs, you’ve probably come across push notifications at some point, whether you were aware of it or not. You know, those often (but not always) annoying boxes that pop up asking you for permission to send notifications. Seen ‘em?
They’re a fairly new and trendy marketing tool that seem to be growing in popularity.
In this post, I’ll talk a bit about what push notifications are. Then, I’ll show you how to set up WordPress push notifications with PushCrew, before finally ending with a few other quality WordPress push notification plugins.
What Are Push Notifications?
If you have a smartphone, you’re probably already familiar with the basic concept of push notifications. They’re those notifications you get when new activity occurs in one of your apps. For example, if you have the Facebook app, you might get a push notification that someone liked your status update. You get the point…
Here’s what you might not know, though:
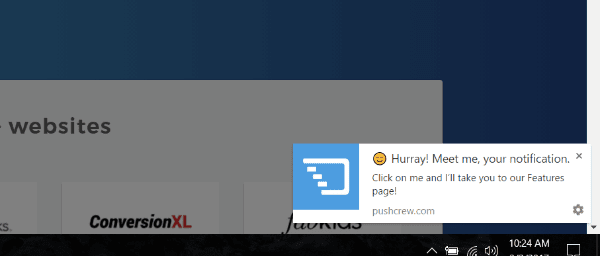
You can actually get the same type of push notifications in some web browsers, notably Google Chrome and Mozilla Firefox (~60% of the web browser market, between the two). Browser push notifications look like this:
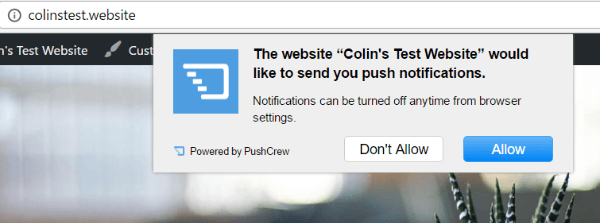
With the only catch being that in order to get a chance to display push notifications, websites need to first get visitors to actively accept push notifications via an interface like this:
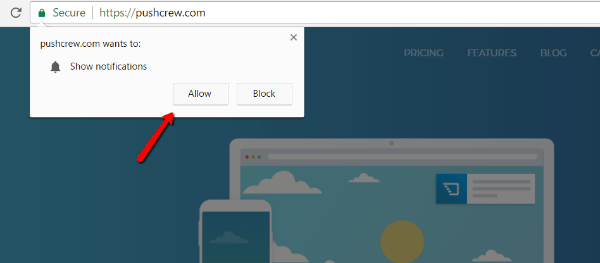
Getting people to click Allow instead of Block is the difficult part!
[et_bloom_inline optin_id=optin_2]
What Are the Benefits of Push Notifications?
Push notifications give you a way to always reach your readers, no matter where they are on the web. They could be scrolling through their Facebook news feed, but when you publish a new post, you can send them a notification.
That sounds a lot like an email newsletter, though. So what’s the difference? Well, if you believe PushCrew’s case studies, it’s that push notifications can get CTRs of 15-25%. If true, that absolutely blows email out of the water. I haven’t personally tested them, but if claims like that hold up, then it’s absolutely worth trying.
Here are some of the ways in which you can use push notifications for your WordPress site:
- Notify users whenever you publish a new blog post.
- Send out coupons and deals if you’re selling a product.
- Promote new product/feature releases
Just remember – if you send out too many push notifications, there’s a high chance you’re going to annoy your subscribers. Moderation is key!
How to Add Push Notifications to WordPress Using PushCrew
As push notifications have grown in popularity, a number of services have popped up to help website owners implement push notifications. So far, PushCrew seems to be the most popular. I’ll show you how to set it up for WordPress. Then, I’ll give you a few other quality options at the end of this post.
PushCrew lets you set up website push notifications for Chrome, Firefox, and Android devices. It’s free for up 500 subscribers. After that, you’ll need to pay for a premium plan.
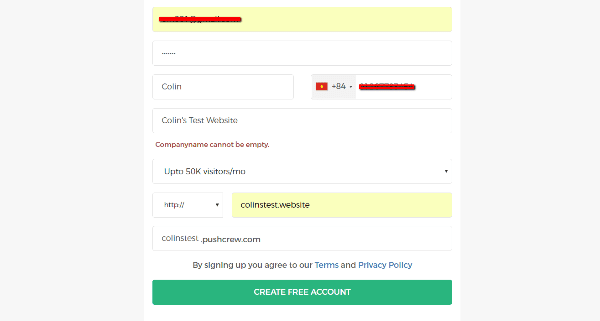
Step 1: Sign up for a PushCrew Account
First things first, you’ll need to sign up for a PushCrew account. Like I said, it’s 100% free until you go over 500 subscribers.
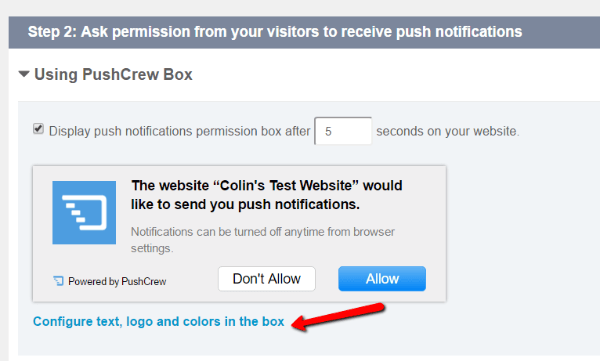
Step 2: Configure Your Push Notification Request Box
One nice thing that PushCrew lets you do is configure your notification request box. That’s the box which actually asks users for permission to send them notifications.
Once you create your PushCrew account, you can upload your own logo and change the text in the box by clicking on the Configure text, logo and colors in the box option.
Once you’re happy with how your notification looks, make sure to hit the Save button.
Step 3: Add PushCrew Code to Your WordPress Site
PushCrew has a dedicated plugin that makes adding their code to WordPress simple. It’s listed at the WordPress.org plugin directory, so you should be able to install it directly from your WordPress dashboard.
Once you activate the plugin, head to Settings → PushCrew and enter your Account ID:
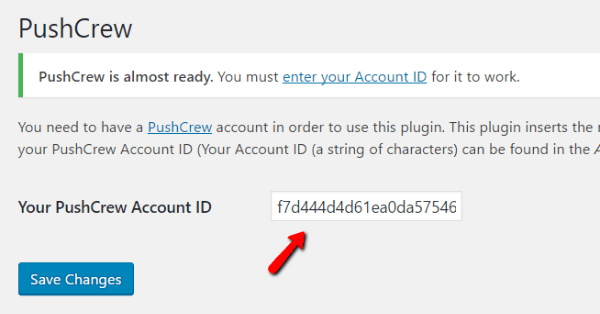
Then click Save Changes. That’s all you need to do!
You can get your PushCrew Account ID from the Account Settings page of the PushCrew dashboard:

And that’s it for configuring PushCrew! Now, your visitors should see this when they land on your site:
Step 4: Sending Your First Push Notification
Once you start racking up subscribers, you’ll probably want to actually put those permissions to use and start sending out push notifications.
To send new notifications, you’ll use the PushCrew dashboard (not your WordPress dashboard). Click the Send Push Notification button:
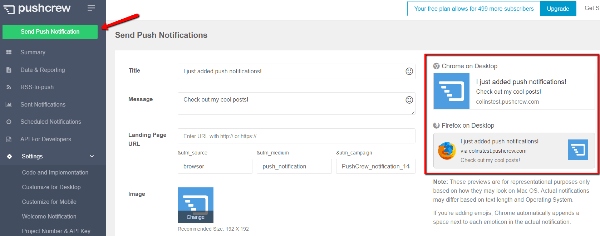
You can then create your notifications using the handy interface. And you can even preview what your notifications will look like in different browsers.
If you pay for the premium plan, you’ll also be able to segment your subscribers and schedule notifications in this tab. But those features are not available in the free version.
And that’s all there is to it. You just set up push notifications for WordPress!
Other WordPress Push Notifications Plugins
As I mentioned, PushCrew is by no means the only WordPress push notification solution. Here are a few other quality options…
Push Notifications for WordPress by PushAssist
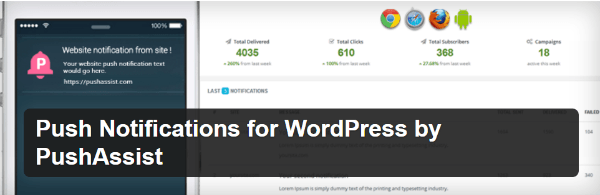
PushAssist is a similar service to PushCrew. You’ll create a separate PushAssist account and then link it up with WordPress using a dedicated plugin.
But here are a few places it beats out PushCrew:
- It supports Safari in addition to Chrome and Firefox
- More generous free plan – up to 3,000 subscribers for free
- Allows segments even for free plans
PushAssist seems like a quality option – I just haven’t seen it used as much as PushCrew.
Price: Free. Pro plans start at $29 per month | More Information
OneSignal – Free Web Push Notifications

OneSignal is another quality option. It includes a dedicated WordPress plugin to make set up easy. And, best of all, it’s 100% free! Who knows how long they can keep that price tag up. But for now, it’s the best deal on this list.
Even in the free version, you can schedule notifications, A/B test different notifications, and even segment your subscriber lists.
If the price tag on PushCrew is scaring you away from push notifications, then OneSignal is an excellent option. I have seen OneSignal in the wild a few times, so I know it’s a popular solution.
Price: Free | More Information
Push Notifications for WordPress
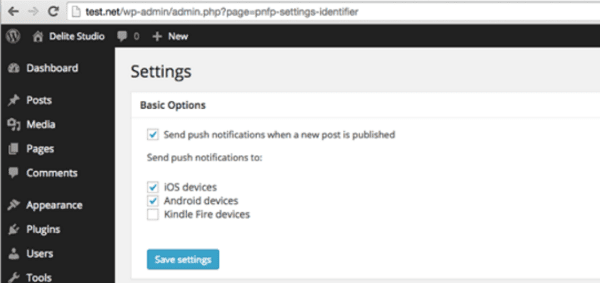
Push Notifications for WordPress is a premium plugin from delite studio. I’m including it because it’s unique compared to the other options on this list. Why? It doesn’t use a third-party service to send push notifications.
Everything is done directly from your WordPress dashboard.
You do lose a little flexibility because your only option is to send push notifications for new posts or custom post types. But if that’s what you were planning to do, it saves you from paying a monthly fee.
Price: €99.90 | More Information